Export, Book Print, and Reports
Using the Export, Book Print, and Reports Task Buttons
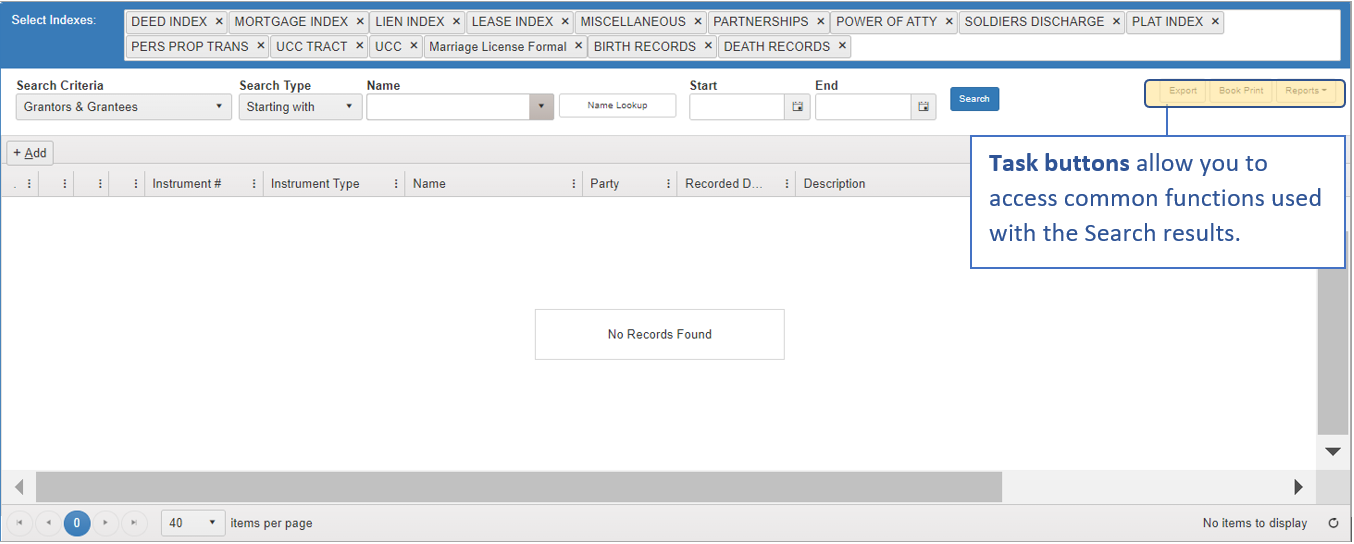
Key task buttons are available on the Search screen:
-
Export
-
Book Print
-
Reports
Click each link below to learn more.
Data can be exported to a file for storage or delivery requests.
When you have items to export, click the Export button.

The Report Parameters dialog will open.
Use the Select Office dropdown to select an office.
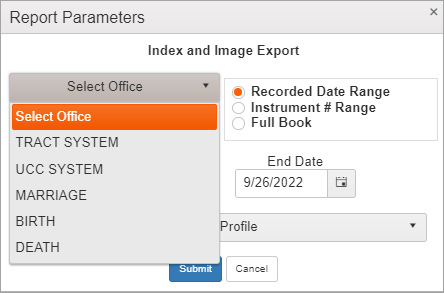
Records can be exported by recorded date range, instrument number range, or full book.
Select by clicking one of the following radio buttons:
-
Recorded Date Range
-
Instrument # Range
-
Full Book
Then set the Start and End Dates.
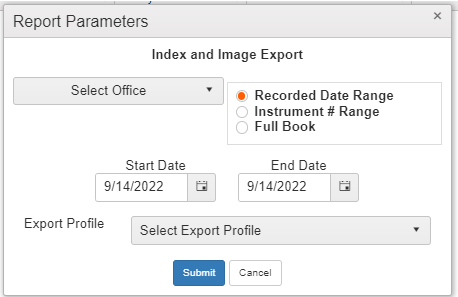
There are several format options for the exported data.
Use the Export Profile dropdown to select the desired format.
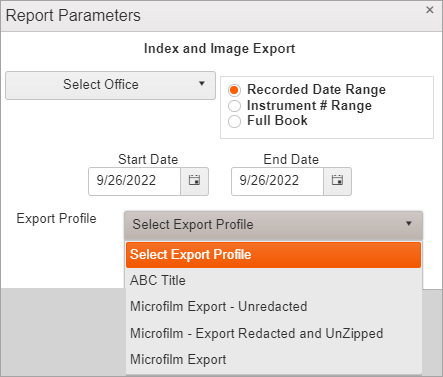
Click Submit.
The export job should be displayed on the Job Queue screen with the status of “Processing.” You can click to Delete the job if necessary.

When the status shows “Complete,” a zip file with list of instruments in the range selected will be available on the grid to View or Archive.

Click View to see the files.

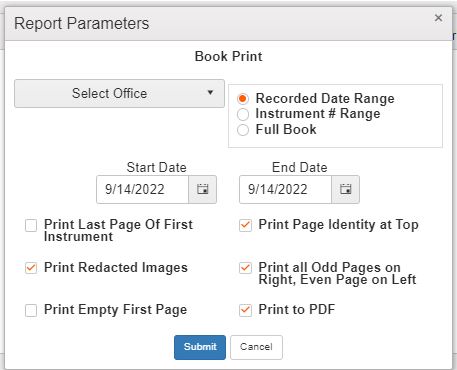
Click the Book Print button to launch the Report Parameters dialog.

Use the Select Office dropdown to select an office.

Select an export type by clicking one of the following radio buttons:
-
Recorded Date Range
-
Instrument # Range
-
Full Book
Set the Start and End Dates.

Use the checkboxes to specify the Book Print parameters.
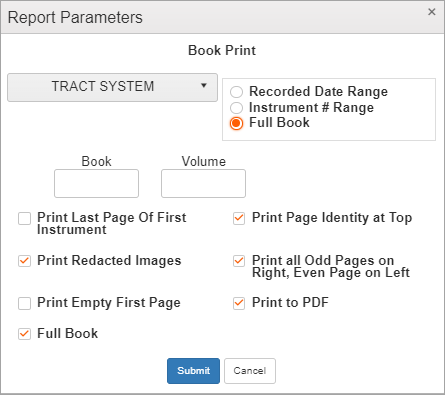
For example, if Tract System and Full Book are selected, the Book and Volume fields are displayed. Enter a valid Book code and Volume. Select any other checkbox options needed.
Then click Submit.
The print job should be displayed on the Job Queue screen with the status of “Processing.” You can click to Delete the job if necessary.

Once status says “Complete,” you can click View to view the file.

The PDF file opens with the list of documents from the book code and volume specified. Properties selected in report parameters should be applied in the documents.
Click the Reports button to view the dropdown list of available report types.
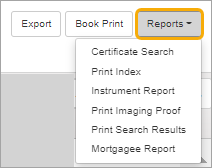
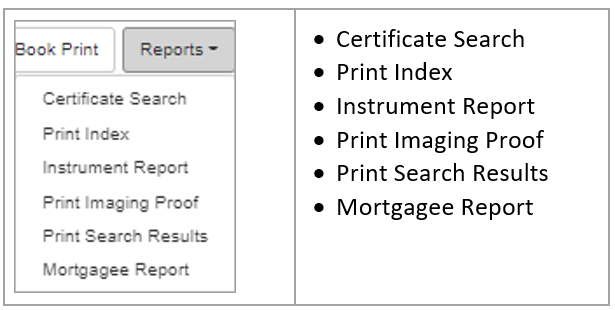
Select one of the available report types.
In the Mortgagee Report, for example, you would enter the Start and End Dates and click View Report.
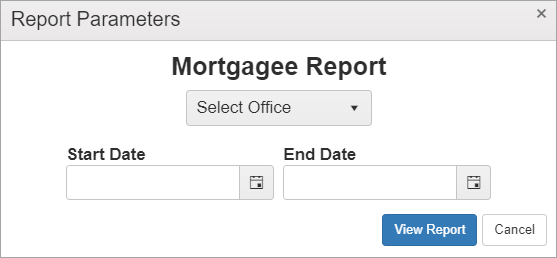
The report is displayed in the document viewer.

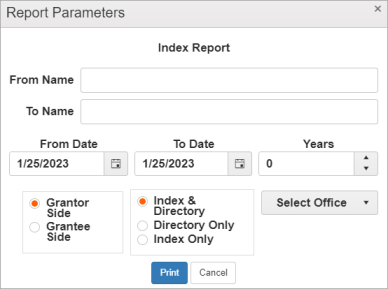
From the Home screen, click on the Reports button and select Print Index.

The Report Parameters dialog opens with fields specific for this report.
-
Enter Names in the From and To fields.
-
Select Date range and Years.
-
Select desired radio button options.
-
Choose an office from the Select Office dropdown.
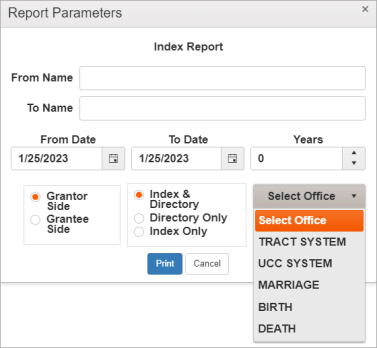
Once you select an office, a Select Index dropdown opens.
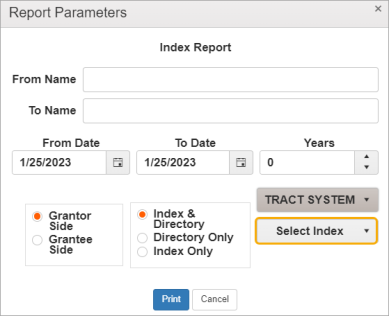
For the Tract System, you can select an index such as a Deed, Mortgage, or Lien Index.
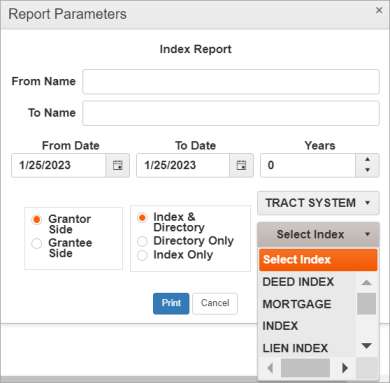
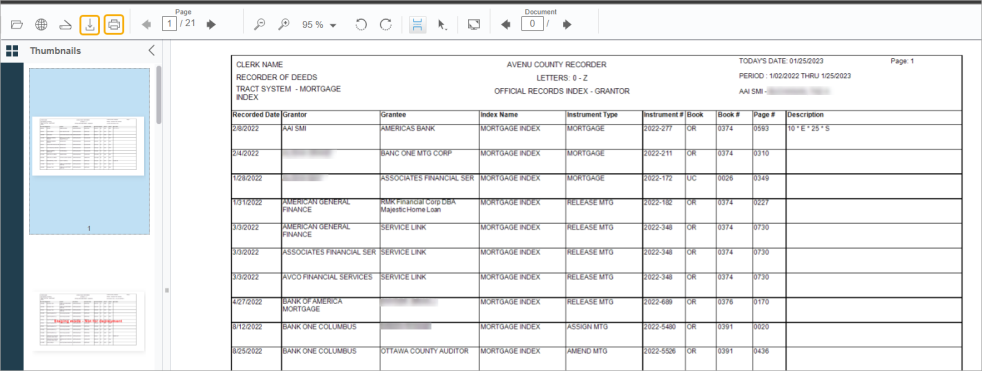
If you click Print, the document viewer displays your report.
Use the Save icon to save as a PDF or TIFF file or use the Print icon to print it.
If you select a Certificate Search, for another example, you can use the Export icon to export the data to a number of export options.
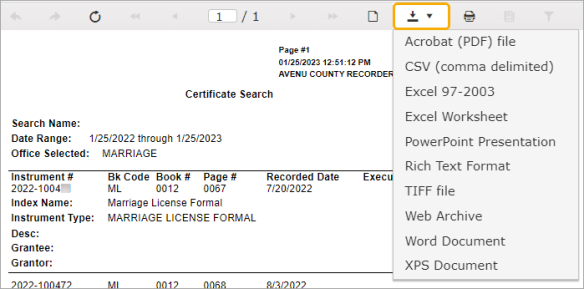
The report will be downloaded and you can click "Open file" to launch it.

Clicking Print will print the report to your printer.
For more information, see Using the Job Queue